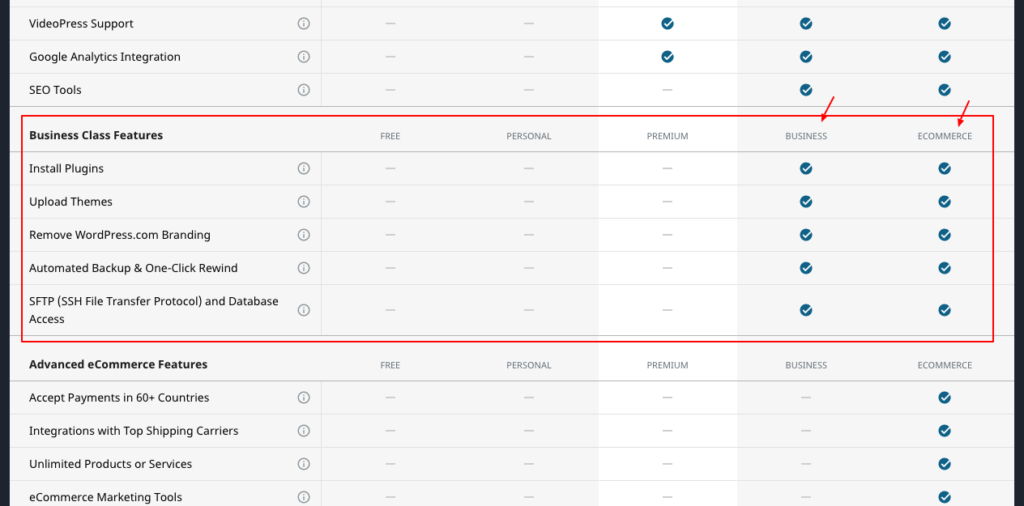
To use custom theme, you must use WordPress.com Business Plan or higher. Free, Personal, or Premium. won’t be able to use custom theme.
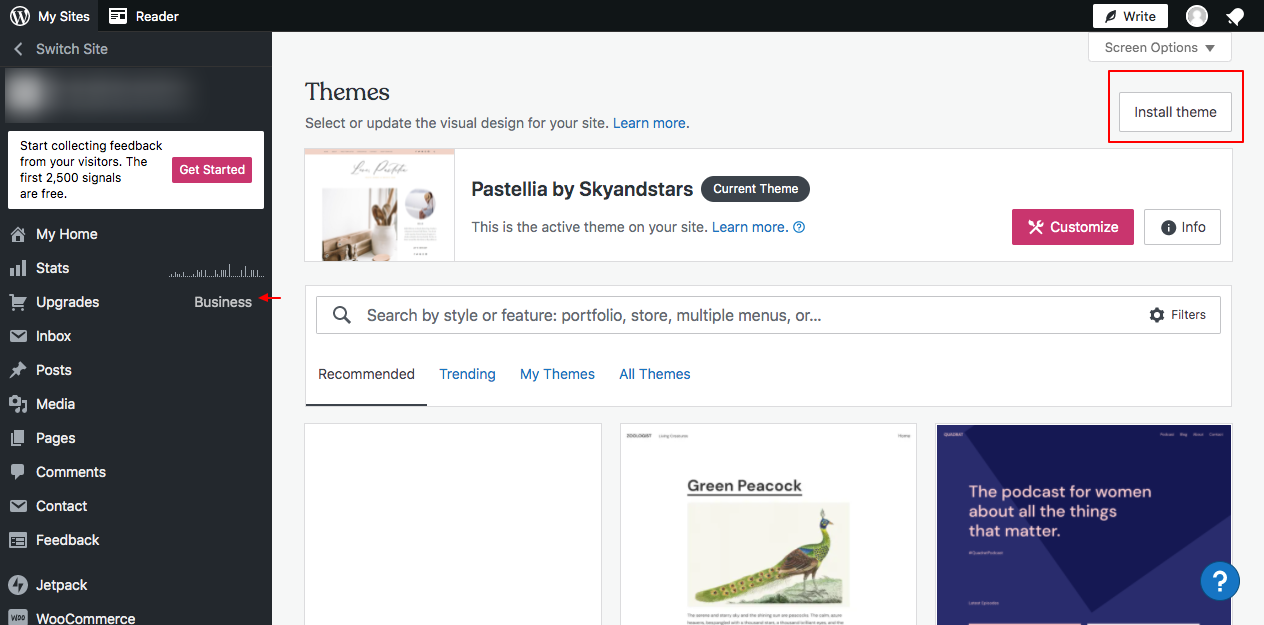
- Go to your Blog dashboard. Under Appearance menu > click on “Themes” > Click “Install Theme” button.
- Upload Genesis.zip first
- Do not activate the genesis.zip first, upload the child theme .zip file and activate it.
- Follow the next steps.