Create a Blank Page
- Go to your Dashboard > Pages > Add New Page
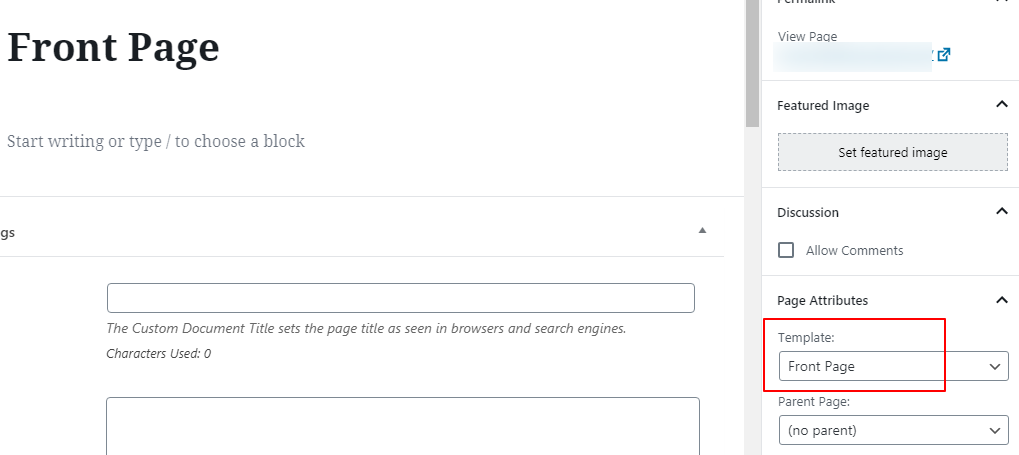
- Name your new page which you can recognize as your front page. In this demo I name it as “Front page” so it’s easier to identify.
- Find ‘Page attributes’ on your right side panel, then search under “Templates” and choose “Front page” from the drop down option.
- Publish the page
- After you create the front page, create another new page for your Blog page. Name it “Blog“
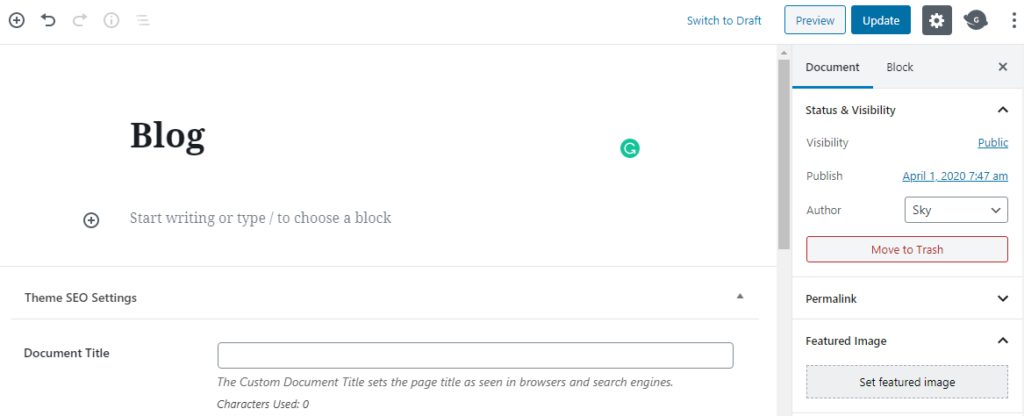
- Publish the page
- Go to your blog setting : Settings > Reading
- Choose Your homepage displays : a Static page
- Homepage : Front page (the page you created before)
- Blog : Blog (the blog page you have created)
- Save the setting
Front Page Widgets
Go to Appearance > Widget or Appearance > Customize (if you need visual) to re-arrange your website front page widgets.
Structure
Front Page 1 – Image widget
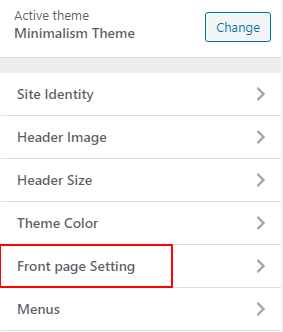
- To add the image, go to Appearance > Customize > Front page setting
- Click “Change image” or “Upload image” to a new image / replace the current image. The size has to be 1400px x 650px or larger.

- After uploading the image, click Publish.
- Go back to Appearance > Customize > Widget > find “Front page widget 1“
- Add widget and choose Custom HTML widget from the list
- Copy and paste this code bellow to your custom HTML widget.
<h2>
    <em>Your Title Here</em>
</h2>

<p>
    Your short description here
</p>

<a class="button" href="link-to-page">Button text</a>
Front Page 2 – 3 Images Widget
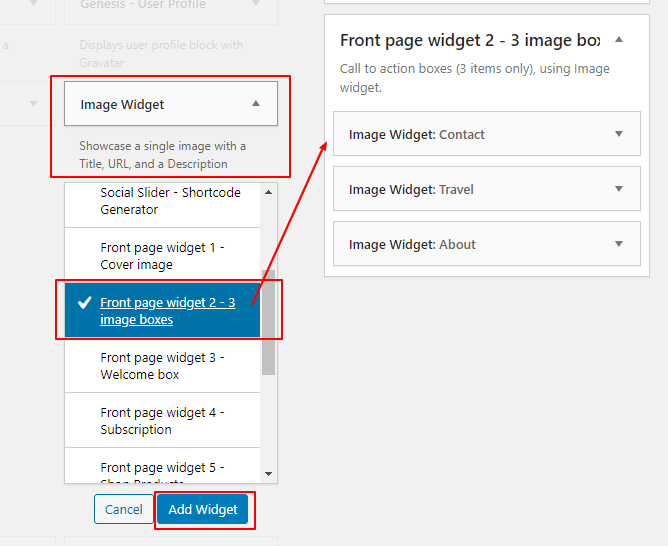
- Install and activate the Image Widget plugin from the recommended plugin
- Go to Appearance > Customize > Widgets or Appearance > Widgets
- Under Front Page 2 widget area, add 3 items of “Images widget“

Front Page 3 – Welcome / About Page
- Go to Appearance > Customize > Widget > find “Front page widget 3”
- Add Image widget, follow the instruction (crop your image to 1:1 resolution to get rounded image)
- Add Custom HTML widget. Copy and paste this code bellow to your custom HTML widget.
<h2>
Welcome title
</h2>
<p>
Your short description here
</p>
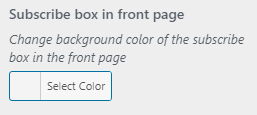
<a class="button" href="link-to-page">Button text</a>Front Page 4 – Subscribe Box
Follow this tutorial to set up the subscription box.
To change the background color box of this front page widget, go to Appearance > Customize > Front page setting > Subscribe box in front page
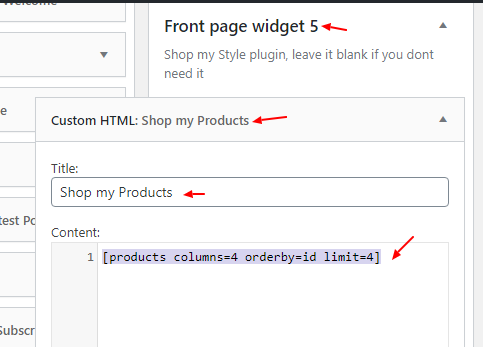
Front page 5 – Shop my style / Display Products
This widget is optional. Remove unwanted widgets if it’s not needed. You can use this widget area to display your affiliate items or your shop products (you can sell items using Woocommerce plugin).
Displaying affiliate links
If you don’t have affiliate links you can skip this widget. To add shop the look widget, you need to get the copy from your affiliate company and paste the code to WordPress widget.
Copy the code from your affiliate program and use Custom HTML widget to paste the code.
Display Shop Products
To display products from your shop, you must activate the Woocommerce plugin first and then add products to your shop.
Add a Custom HTML widget to this area. Copy and paste the code below. It will display 4 products of your latest items.
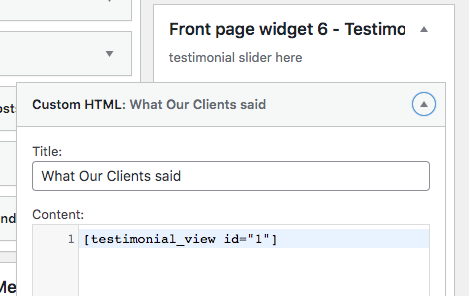
Front Page 6 – Testimonial Slider
- Add and activate “Strong Testimonials” plugin (Plugins > Add New or install from the recommendation plugins notification on your wordpress dashboard)
- After the plugin is activated, Add a new testimonial (Testimonials > Add new). The testimonial title can be empty. Add your testimonial text under the text area. For the author, scroll down the page, add the author under ” Client details : Full name” and then save.
- To display the testimonial as a slideshow, go to Testimonials > Views < Add New (if it’s your first time displaying the testimonials), check the setting according to your needs, especiallu the one in red boxes, and select MODE : Slideshow. Copy the SHORTCODE.

- Go to Appearance > Widgets and add “CUSTOM HTML” widget to Front page 6 widget area.
- Fill the field with the testimonials shortcode.
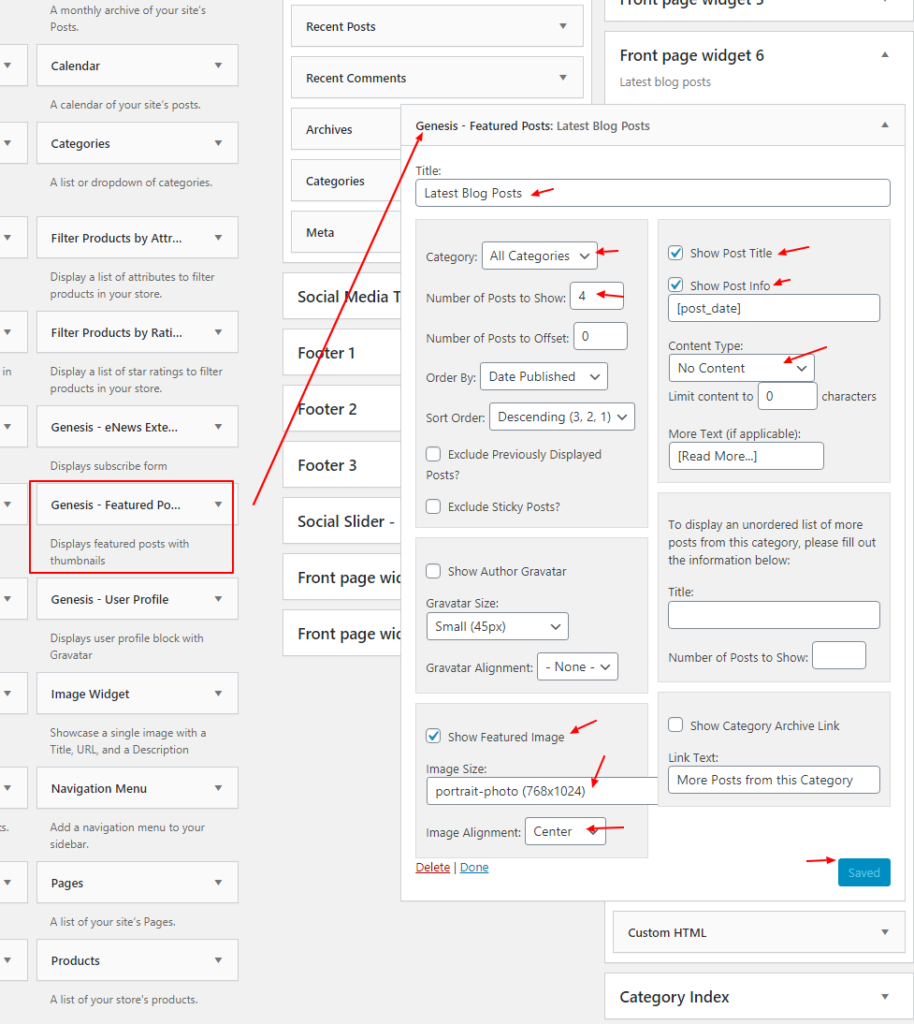
Front page 7 – Latest Blog Post
- Add Genesis Featured Posts to “Front page 6” panel (maximum 4 blog posts)
- Follow this setting bellow :
<div class="link-to-blog">
	<a class="moreblog" href="link-to-blog-page">View  Blog</a>
</div>