- Must install and activate Genesis eNews Extended plugin first. Genesis eNews widget works with Feedburner, MailChimp, Aweber, FeedBlitz and Constant Contact, but it should work with almost all services. For this example, I am using MailChimp.com.
- Open a new tab (don’t close your WordPress admin tab). Create or login to your Mailchimp account.
- Go to Audience > Sign up forms.
- On the Sign up forms page, select “Embedded forms”.
- When you’re on the form code, copy only the form action. see image below :
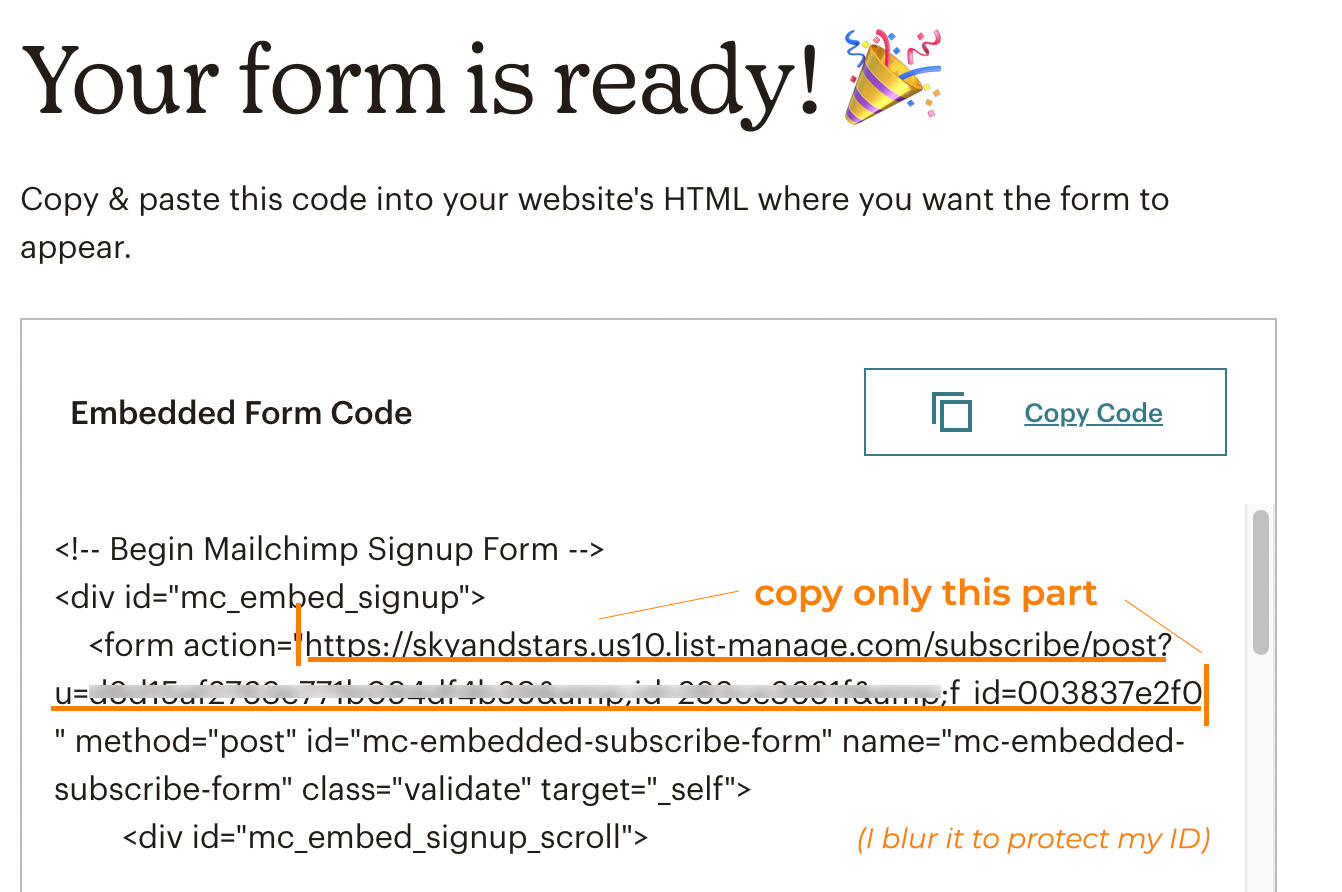
- Only copy the code inside form action, example : https://skyandstars.us10.list-manage.com/subscribe/post?u=123455&id=12344&f_id=123
- Go back to your website, add the widget to your blog (Appearance > Widgets). Place the widget in your sidebar area.
- On your Genesis eNews widget, look for “Form Action“. Paste the code you copied to form action input field.In the email field, put “EMAIL” (all capitalized).

Save the form.Please read the installation tutorial for each service on the official plugin website. click here.
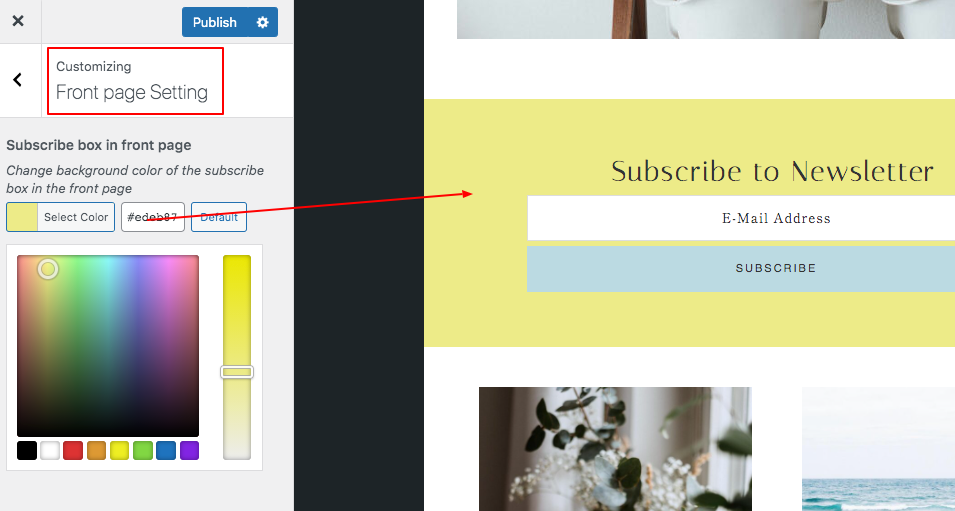
Change background color
You can change the subscribtion box background bolor, go to Appearance > Customize > Front page setting. To change the button color, go to Apperance > customize > theme color.
Display the Widget on Sidebar or Footer widget area
You can display another subscription widget at another place. Repeat the same process, but add the widget to a different area section.
To display it on the sidebar, put it under the “Primary Sidebar” area.
To display it on the Footer area, put it under “Footer 1 / 2 / 3”